- Home
- Documentation
- Client Setup
- iOS
- Create App
- Get the SDK
- Enable Capability
- Register Devices
- Handle Notifications
- Subscribe to Topics
- Setup APNs Authentication
- Send Test Notification
- Android
- Create App
- Get the SDK
- Register Devices
- Modify Launcher Activity
- Modify AndroidManifest
- Setup BroadcastReceiver
- Parse Notification Data
- Subscribe to Topics
- Send Test Notification
- Web Push
- Create App
- Get the SDK
- Register Visitors
- Handle Notifications
- Subscribe to Topics
- Send Test Notification
- Additional Platforms
- Ionic
- Flutter
- Python
- macOS
- Angular
- Electron
- Cordova
- Capacitor
- PhoneGap
- React Native
- Java (Desktop)
- MAUI (Android)
- Xamarin (Android)
- Migration Guides
- Backend Setup
-
API Reference - SDK Reference
- Additional Resources
Got Feedback?
We'd love to hear what you have to say about our documentation. Let us know how we can improve it.
Create an App
Sign up for Pushy Trial to get started, or log in to your existing account
Note: No credit card needed. Upgrade to the Pro plan when you're ready by visiting the Billing page.
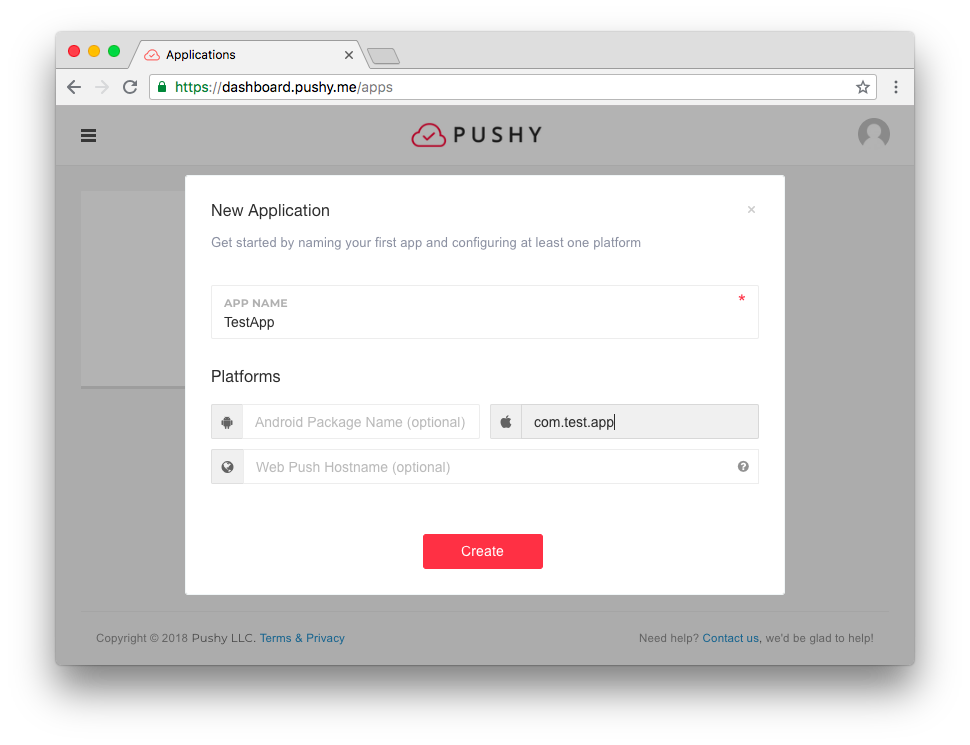
Create an app and fill in the iOS Bundle ID:
Please ensure the iOS Bundle ID you enter precisely matches the one configured in your project files, as it is used to automatically link your client app with the Pushy Dashboard app having the same iOS Bundle ID.

Note: If you have already created an app in the Pushy Dashboard for another platform, simply configure your existing dashboard app with your iOS Bundle ID in the App Settings tab and proceed to the next step.
If you're targeting other platforms, please fill in their respective app identifier fields.
Click Create and proceed to the next step.